As the colder season is upon us, our home decor will change as well. We transition from bright and colorful summer accessories to more subdued jewel-tones for a cozy fall escape.
An easy way to transition from summer to fall is by drying your favorite summer flowers. Preserving these blooms allows you to enjoy them all year long.
To help you get started, FTD will show you 4 ways to dry flowers and inspiration on how to decorate your home with them in 7 different ways. With so many great ideas, you’re bound to find a suitable one for you!

Disclosure: Opinions expressed are our own. If you buy something through any of our affiliate links on this page, we may earn a commission at no extra cost to you. Thanks for supporting our site.
Recommended resources
- Silica sand* if you want faster than air drying or to dry in a microwave
- A flower press* if you think you'll be doing this often
How to dry flowers
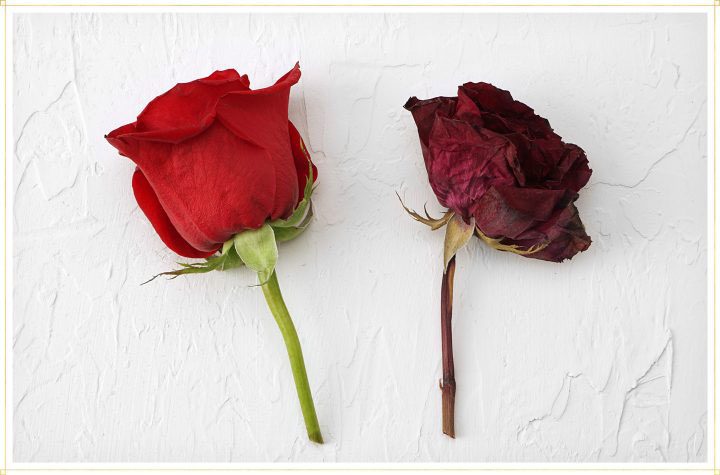
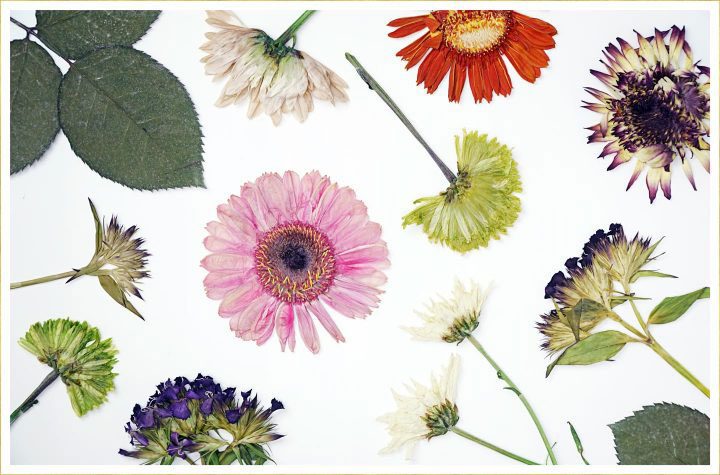
Below are detailed step-by-step instructions to show you how to preserve all kinds of flowers.
Whether you want to know how to dry a rose, carnation, or anything in between, these easy-to-follow-instructions for DIY dried flowers will be simple and quicker than you might imagine.
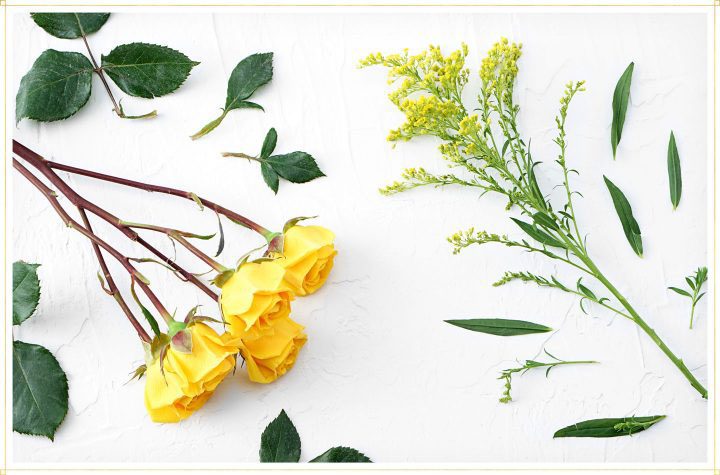
Method 1: Air drying
Materials
- Flowers
- String
- Scissors
- Stick or hanger
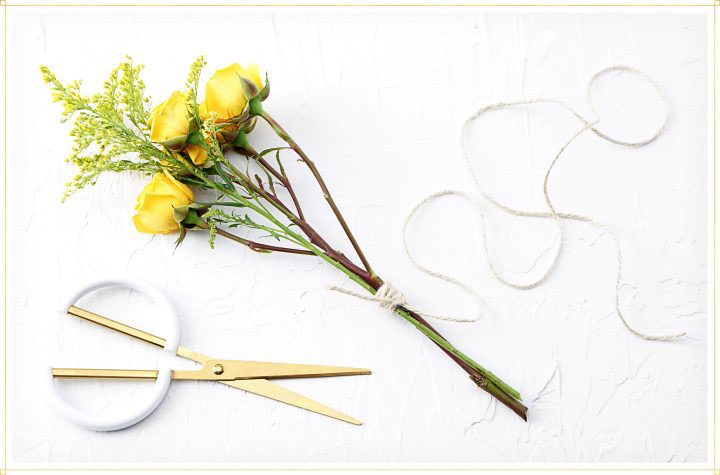
Step 1: Prepare the flowers by removing any leaves. Feel free to leave some on the stem if you enjoy the look of greenery.

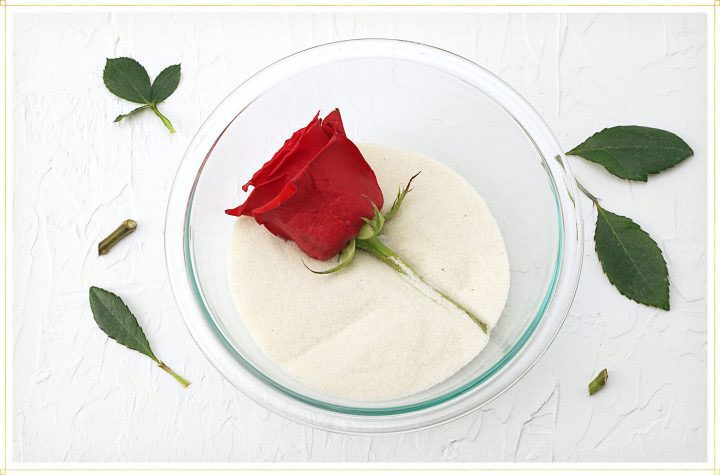
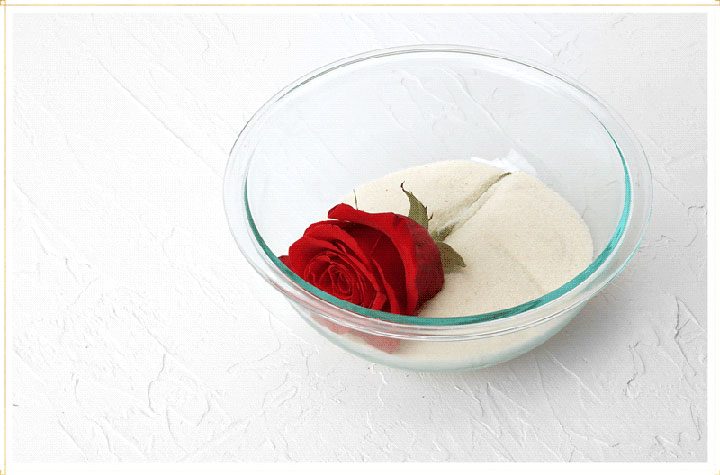
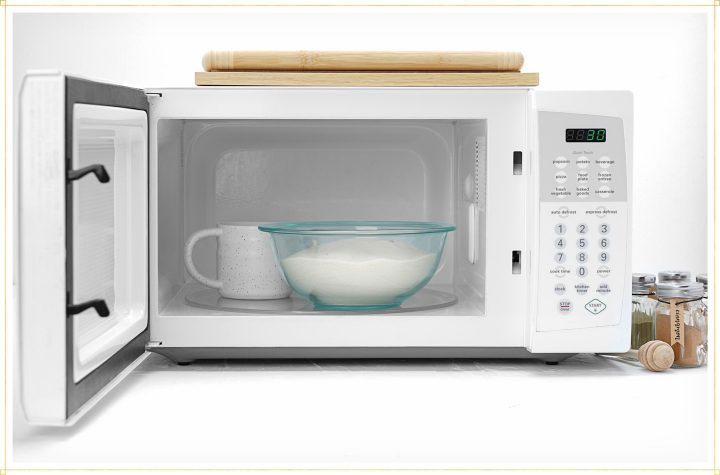
Method 2: In the microwave
Materials:
- Flowers
- Silica sand*
- Microwave-safe container
- Cup of water
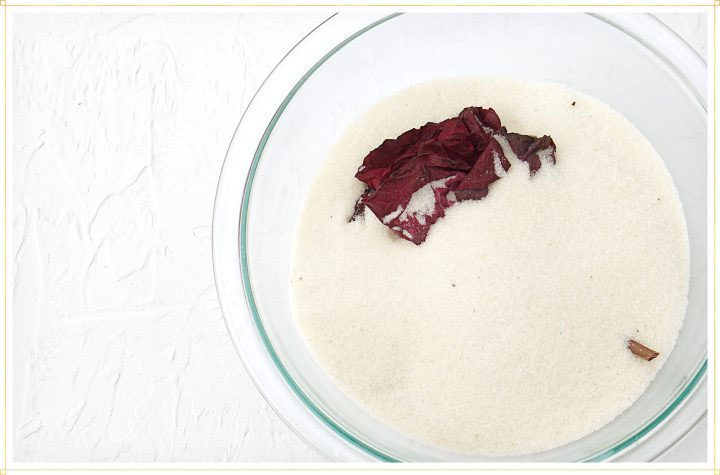
Method 3: In silica sand
Another option is drying your flowers in silica sand without using the microwave. This will take longer but you can use a larger container that doesn’t need to fit in the microwave, so you can dry more at once.
Materials:
- Flowers
- Silica sand*
- Container
Step 1: Prepare your flowers by removing unwanted leaves.
Step 2: Unscrew wingnuts from the bolts on the flower press. Take the top off.
Step 3: Line the two sides of the press with parchment paper.
Step 4: Place the flower on the parchment paper and replace the top of the flower press.
Step 5: Let it sit for three to four weeks. Once dry, remove and use for decor!
What to do with dried flowers?
Now that you have your preserved flowers, let’s look at some dried flower arrangement ideas to help spruce your home with newly made dried flowers decor.
From elegant bouquets to DIY wall art, there is sure to be a dried flower idea that fits your style.
Vase arrangement
Fill your favorite decorative vase* with dried flowers and place in your entryway for a display that will withstand the test of time.Golden petals
Did your leaves or petals fall apart or become discolored when you dried them? Spray paint them gold for an elegant look.
Flower wreath
Repurpose your dried flowers into a beautiful wreath. Glue a base of greenery to the hoop* and then add on colorful blooms.Botanical frame
Make your dried flowers into a trendy piece of wall décor by framing them*. Easily switch out the flowers to match the season with this tutorial.Bouquet display
Visiting a friend? Bring them a bouquet of dried flowers. They’ll be impressed with the sentiment and eager to display them in their home.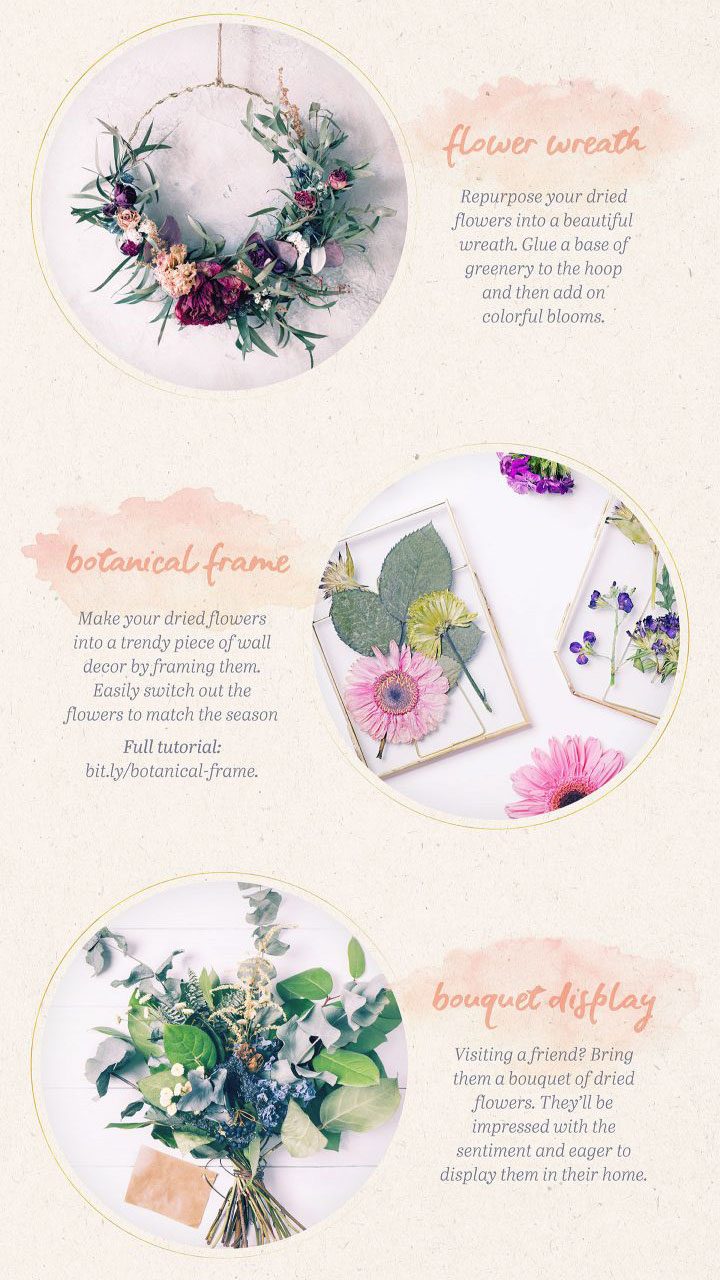
Wall décor
Cover a plain white wall in your office or bedroom with colorful dried flowers by attaching individual leaves and blooms to the wall with washi tape*.Floating flowers
Fill antique jars with dried flowers and hang them for a rustic farmhouse look. This floating décor is a unique addition to any entryway.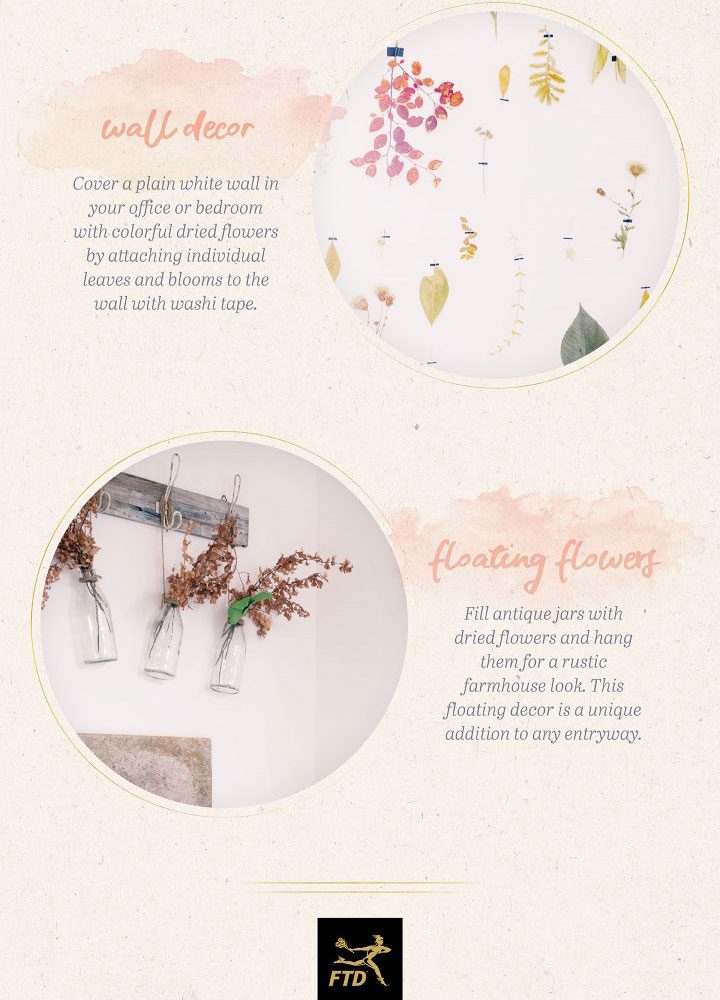
Conclusion
Now that you know exactly how to dry flowers and preserve them for stylish home decor with these dried flower arrangement ideas, you can give your abode some natural flair.
Leave a Reply