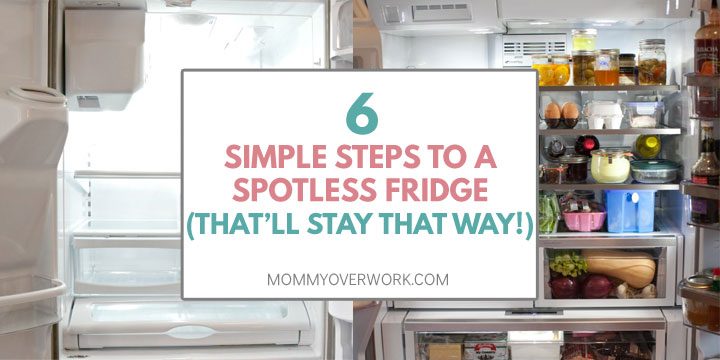
After decluttering my kitchen the other day, I got to thinking about when was the last time I cleaned out my refrigerator the other day.
Not just rearranging things so it looks nicer, but a full-on, get-rid-of-residue-build-up deep clean of the fridge.
Turns out it’s been about 2 years (not bad...right?), so I'm dreading the monstrous task to get the fridge spic and span again.
Since I’m going through the effort to complete this monumental task, I tried to think of the best way to do it ONCE, and then not really have to dread this chore ever again.
Thanks to Pinterest, I now have a super simple, game-changing 6 steps to a clean refrigerator that'll stay that way.

Disclosure: Opinions expressed are our own. If you buy something through any of our affiliate links on this page, we may earn a commission at no extra cost to you. Thanks for supporting our site.
Jump to:
- Recommended resources
- Step 1. Remove EVERYTHING from the fridge
- Step 2. Create a natural cleaner and give the fridge a good scrub down
- Step 3: Add liners to your fridge
- Step 4: Know the best places to organize your food
- Step 5: Use storage containers to hold your foods
- Step 6: Keep track of inventory
- Optional step: Create a kids' snack zone
- Bonus: How to clean out your freezer
- Conclusion
Recommended resources
- Easily customizable tool* to keep your fridge clean for way longer
- The type-A way to organize your fridge* (that actually makes it easier to access the stuff at the back of the fridge when you think about it...)
- Just set it and forget itfridge deodorizer*
Step 1. Remove EVERYTHING from the fridge
This detailed post does a great job explaining how to do this thoroughly. And it'll only take 15 minutes! (via Mom for Real)
Brownie points: Do this deep clean right before a freezer cooking session so you use up your remaining contents instead of throwing food away or letting it go to waste.
Step 2. Create a natural cleaner and give the fridge a good scrub down
The post from above gives a thorough rundown on how to clean every nook and cranny of the fridge.
But for an effective and natural cleanser to use, try out the recipe in this post. All you'll need is vinegar, lemon, and water. (via One Good Thing by Jillee)
Step 3: Add liners to your fridge
So you won’t have to scrub so hard to get stains off the refrigerator glass the next time you deep clean. Here's a tutorial on how to DIY some reusable liners for cheap with some Dollar Store placemats. (via One Good Thing by Jillee)
Lazy Hack: Or, if that seems like too much work, then you can also lay saran wrap* down, and when it comes time to clean the fridge, you'll just need to remove, toss, and replace. Ba-da-bing-ba-da-boom.
There are also reusable, customizable liners* available too.
Step 4: Know the best places to organize your food
For sanitation, food safety, and your convenience, putting foods in designated zones in the fridge will make it easier for you to keep your refrigerator organized. (via Squawkfox)Step 5: Use storage containers to hold your foods
Like an organized pantry, using cheap bins and labels will take your food storage organization to the next level. (via I Heart Organizing)Or mason jars to up your fridge organizing game even more
This is a great fridge organization hack to keep leaky liquids, like homemade sauces, from creating a mess in your fridge. (via Simple Bites)Step 6: Keep track of inventory
In order to keep track of what’s stocked in your refrigerator, you can try this dry erase pen method. (via The Grant Life)Optional step: Create a kids' snack zone
That way, your beautiful masterpiece will remain in tact (for a little while longer, at least) as your kids will have their designated space for grab and go snacks. (via Stockpiling Moms)Bonus: How to clean out your freezer
You might as well tackle the freezer while you're at it with the fridge. The steps are similar to above, with just two notes to add.1. Defrost
This method keeps foods safe and time saved. (via Busy Creating Memories)Conclusion
That's it! A pretty thorough way to get a sparkly, clean refrigerator (and freezer!). Great hack to do the work once and set yourself up for lots of saved time and headache FOR THE REST OF YOUR LIFE.
Next time when you do a thorough cleaning, it'll take about 10 minutes tops and you'll be thanking your old self again and again for making it this easy.
Continue Reading: Home & Garden posts →


Leave a Reply